
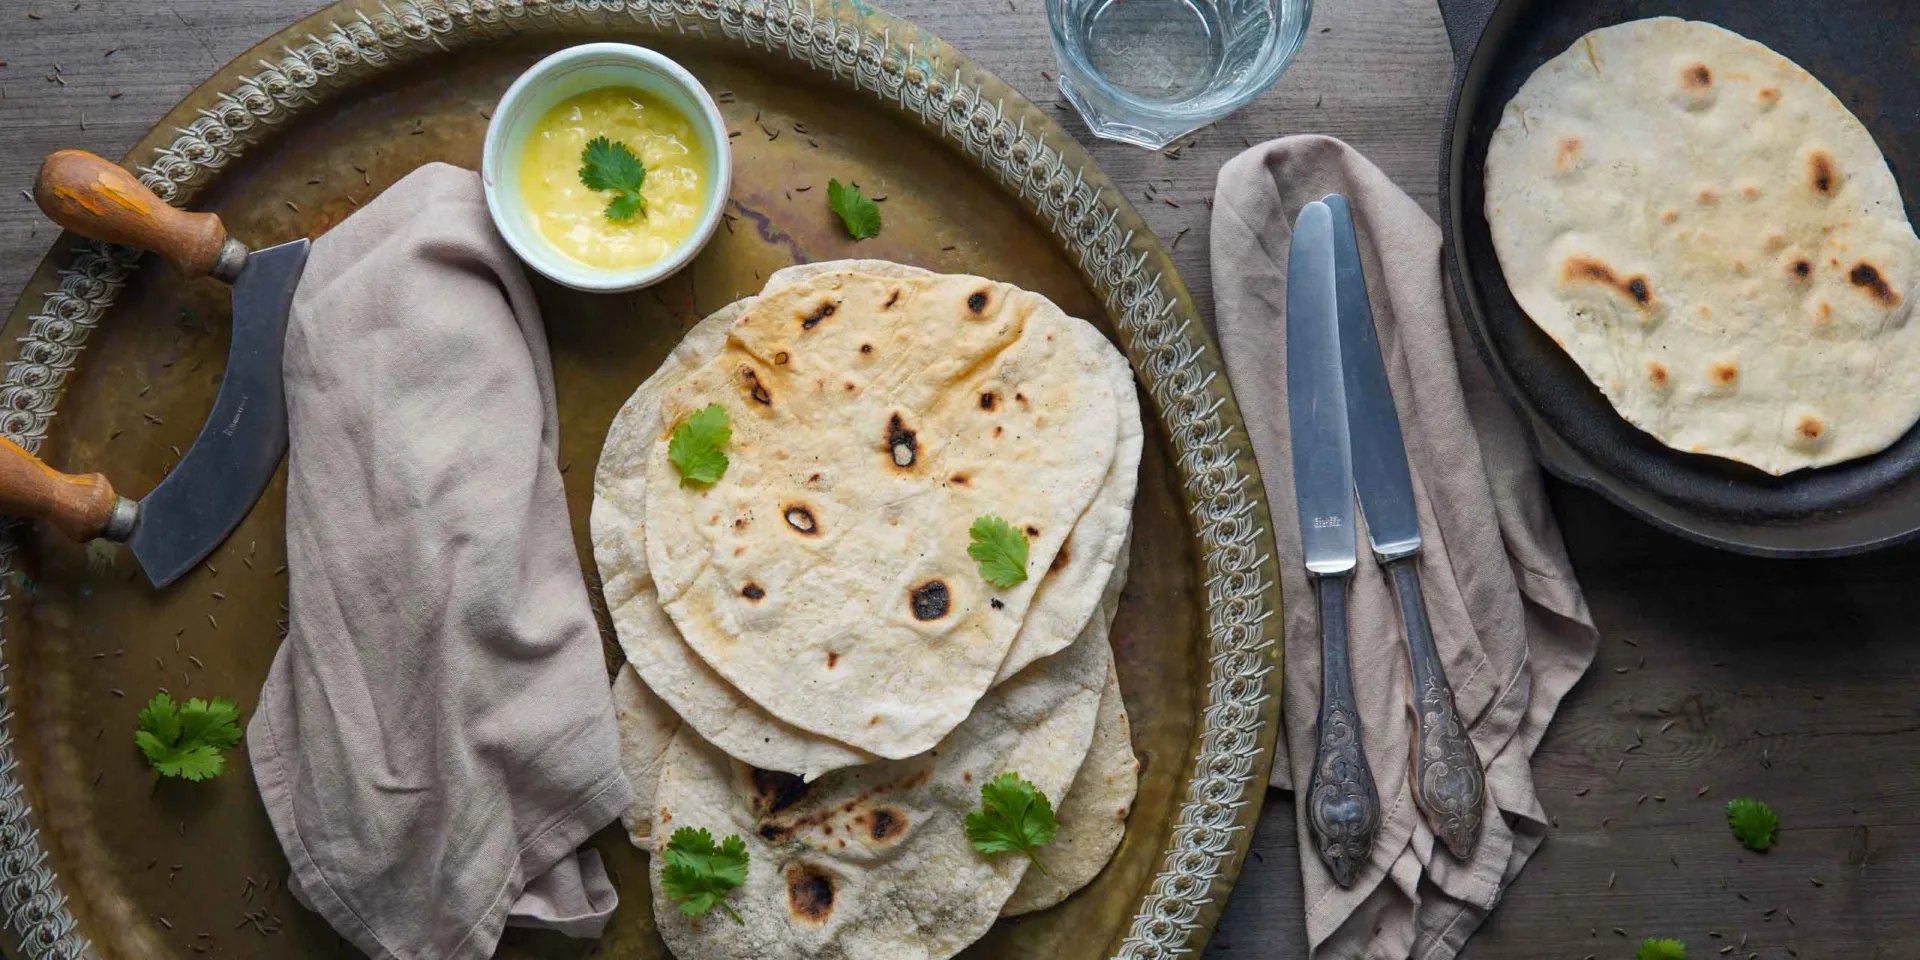
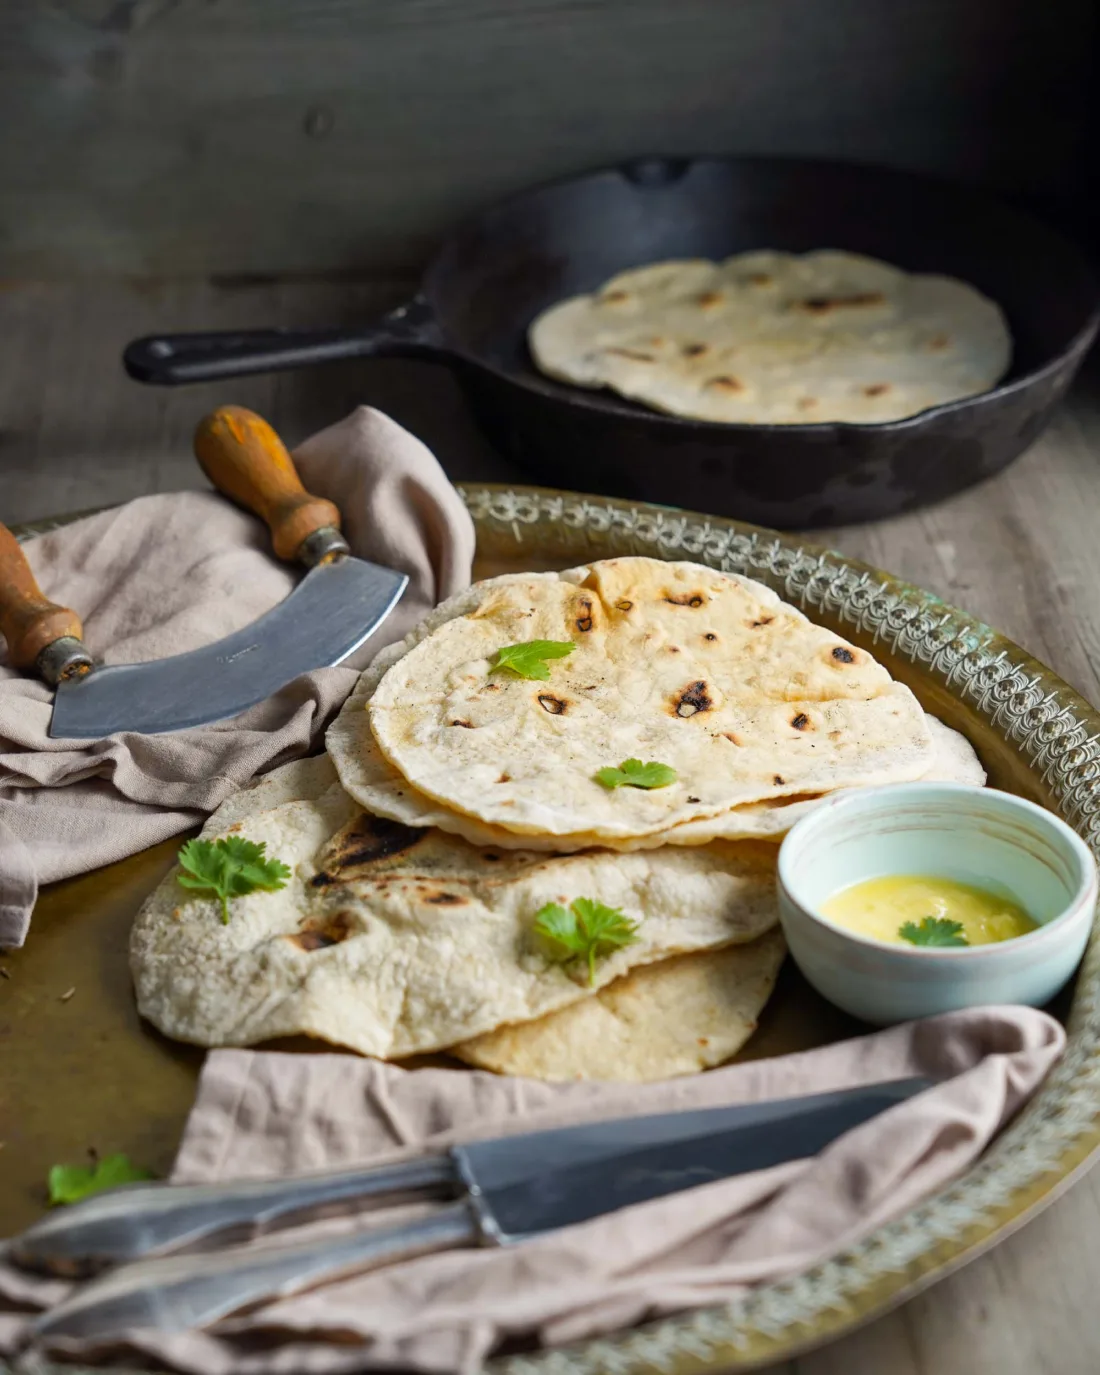
Baking naan bread with purely plant-based ingredients is really easy and tastes just as good as the original. Yet it's almost impossible to get vegan naan bread in Indian restaurants, because the traditional recipe uses yogurt and ghee. I'll show you how to replace these ingredients with no trouble at all (it can even be soy-free).
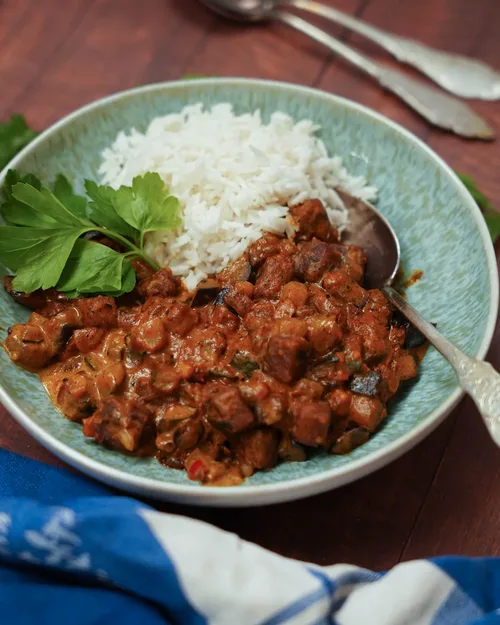
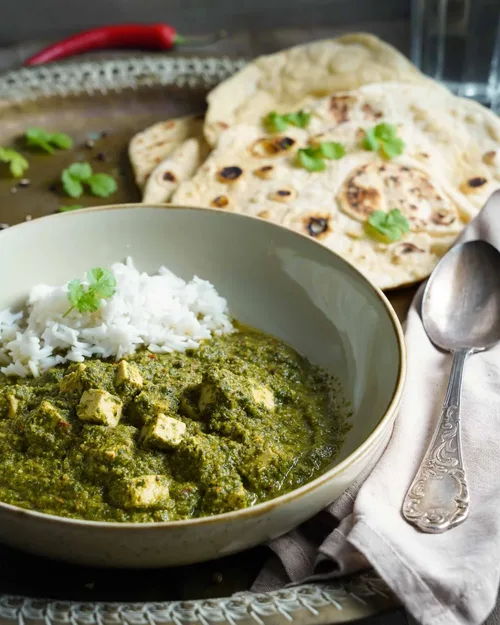
The bread tastes wonderful all on its own! It's the perfect match for classic Indian dishes like palak paneer or eggplant tikka masala with crispy tofu. You can also enjoy it as a classic bread snack, or brush it with homemade garlic oil after baking. You'll find more about that under "Tips".
Enjoy!
Ingredients
- Prep: 20 min
- Rest: 70 min
- Total: 90 min
Tap ingredients to check them off
In season in Germany right now
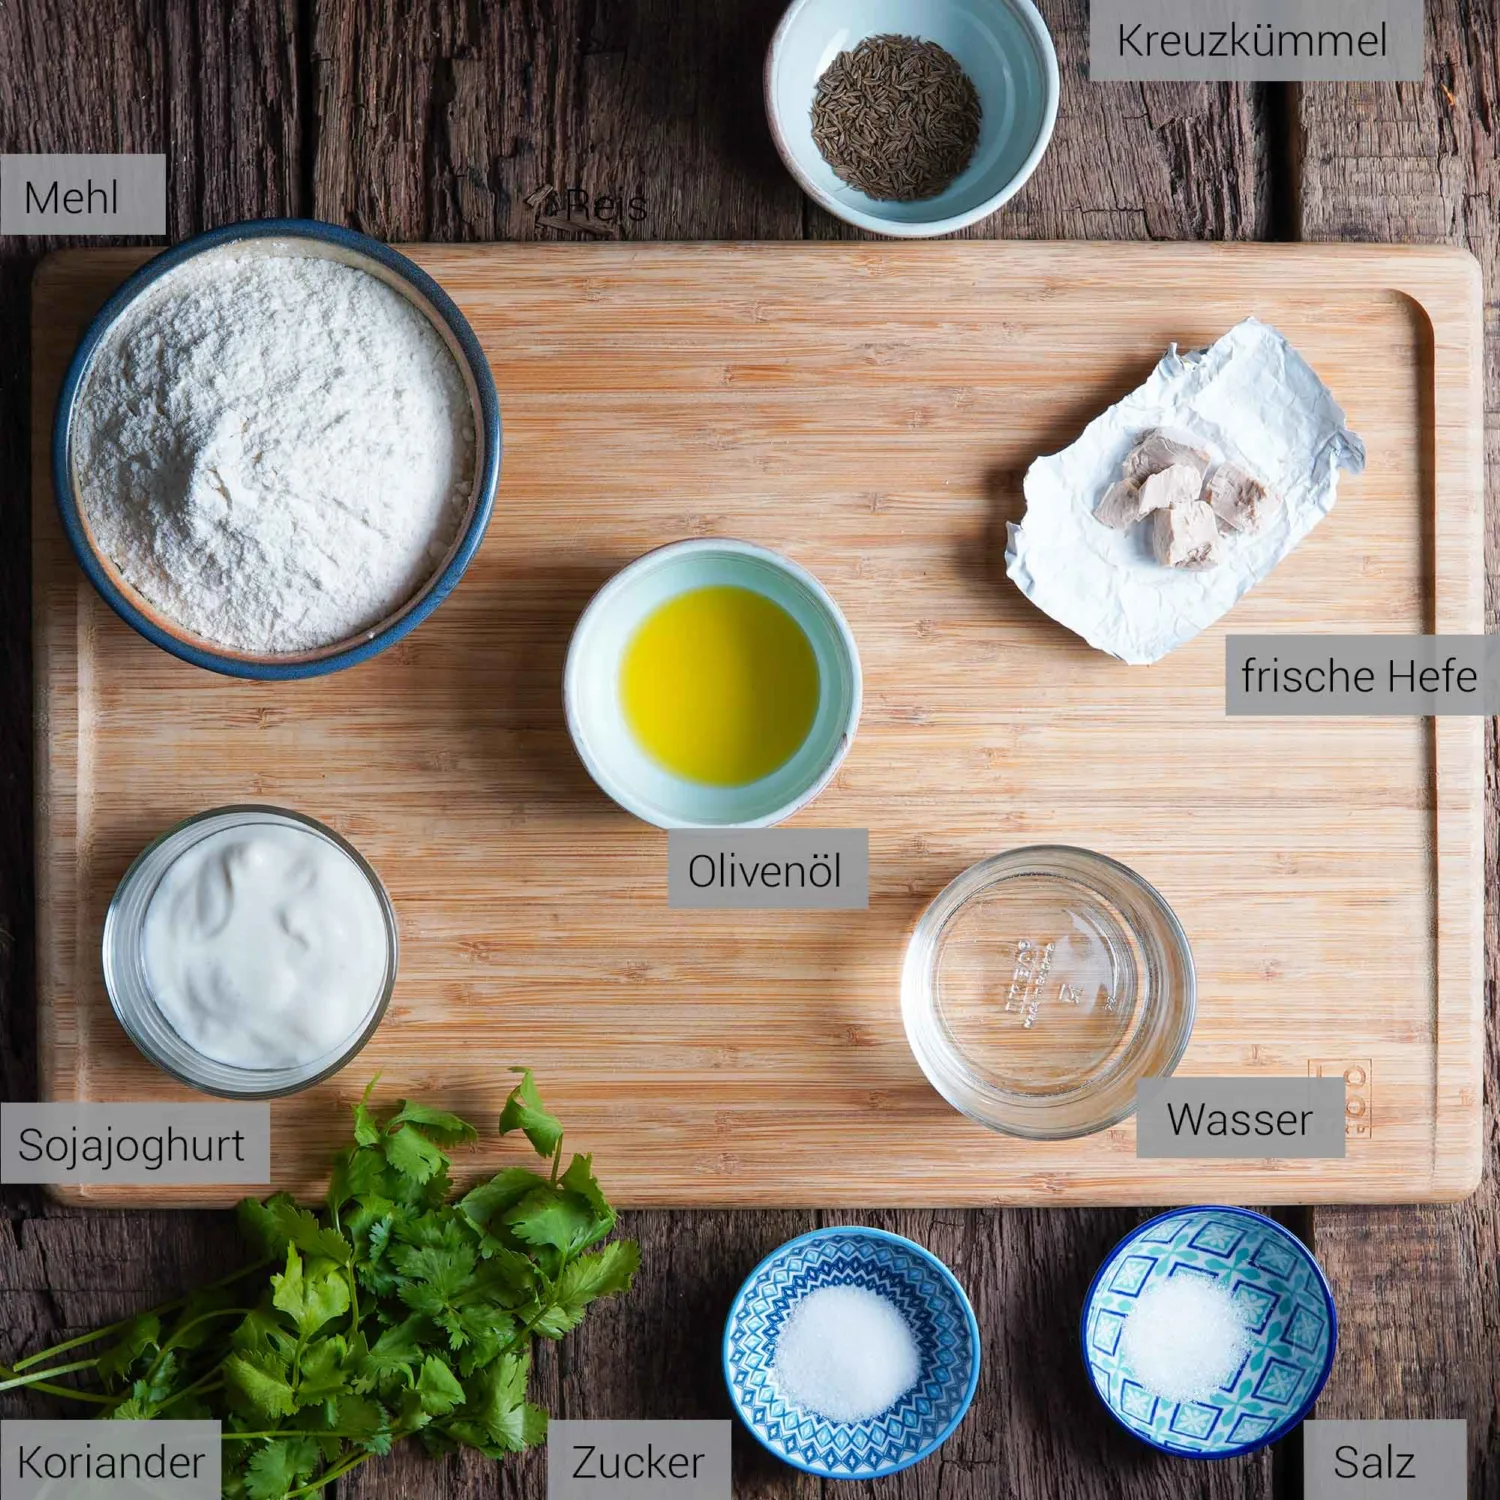
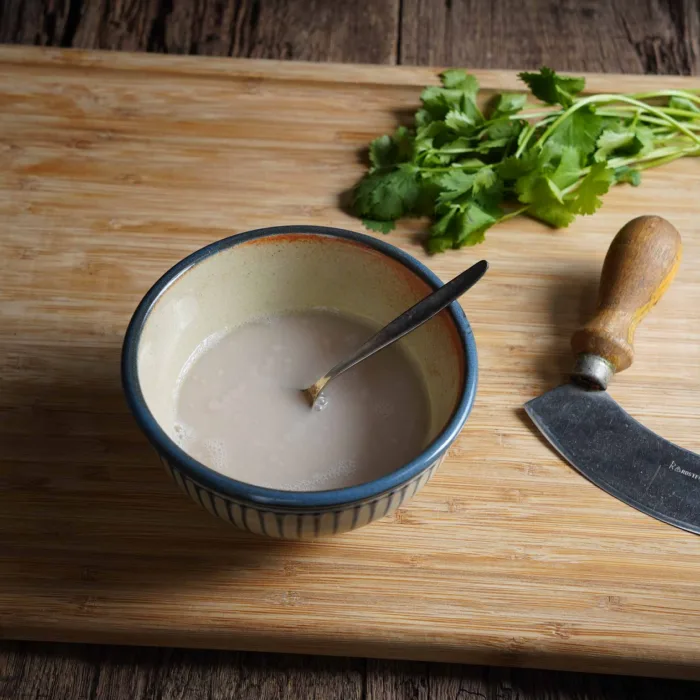
- Mix the water, yeast and sugar in a bowl and leave in a warm place for 10 minutes. Foam should have formed on the surface.
Tip: The water should only be lukewarm, otherwise the yeast dies.
- Put the flour, yogurt, olive oil and salt into a large bowl together with the starter.
Tip: You can add herbs at this point. Cumin seeds, for example, go really well.
- First mix with a fork, then knead for 5 minutes by hand or with a stand mixer. The dough should then come away from the sides of the bowl easily.
- Shape the dough into a ball and let it rise in a warm place for at least 1 hour. Cover the bowl with a damp cloth. The dough should then have grown to 2 to 3 times its size.

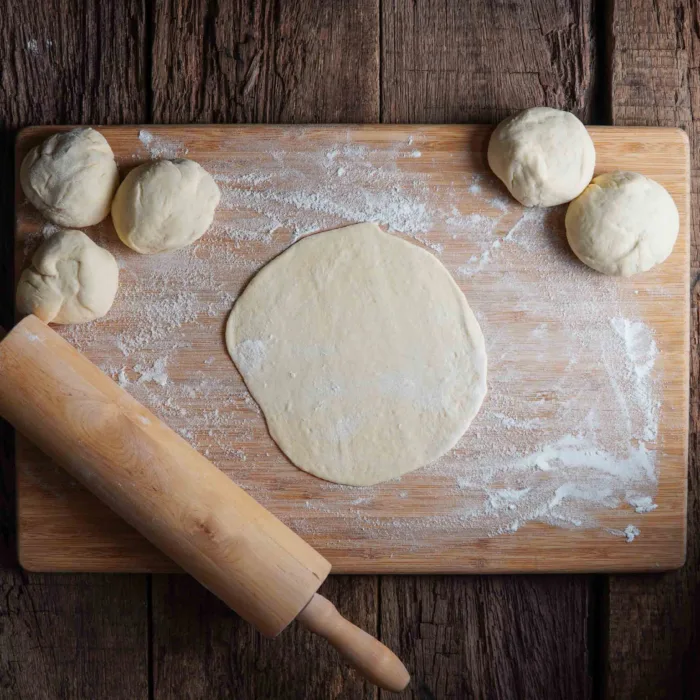
- Divide the dough into 6 portions (for a recipe with 6 naan breads) and shape them into small balls.
Tip: If the dough is a little sticky, sprinkle some flour on it first and dust your hands with a little flour.
- Dust your work surface with flour and roll the dough out to about 0.5 cm (¼ in) thick with a rolling pin. If you don't have a rolling pin, you can stretch the dough into a flatbread with your hands - or use a bottle😉.
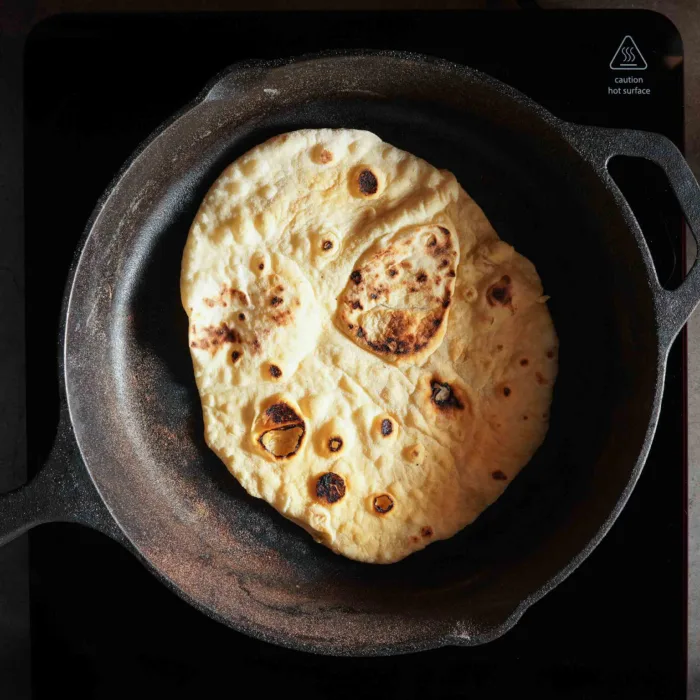
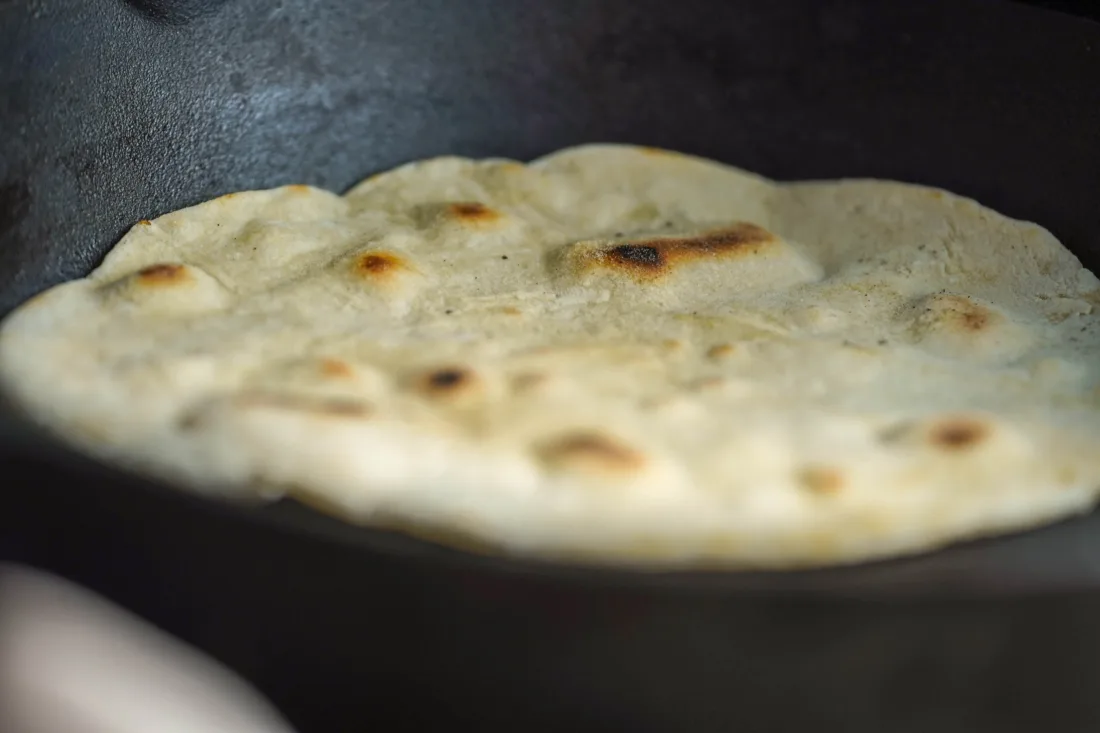
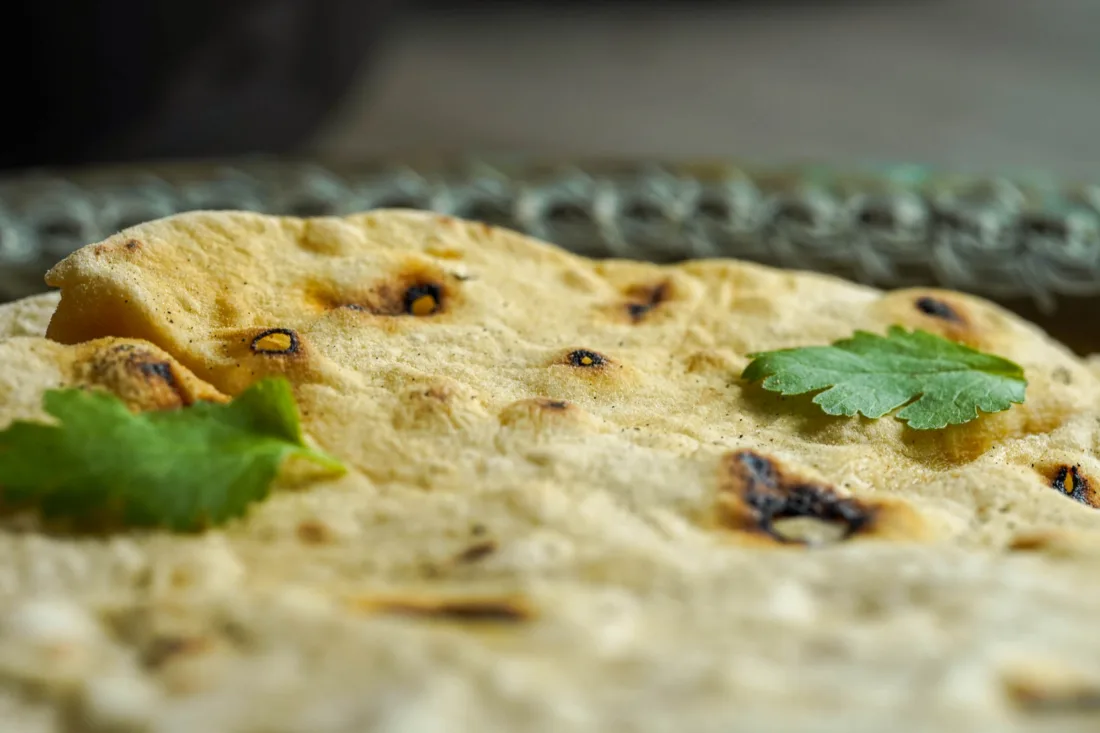
- Heat a pan (ideally a cast iron pan; see tips) and fry the flatbreads without oil on both sides until the bubbles that form turn golden brown.
Tip: You can brush the finished naan with garlic oil right away. You'll find a suggestion for a simple garlic oil below under "Tips".
Tips
Quick recipe for garlic oil
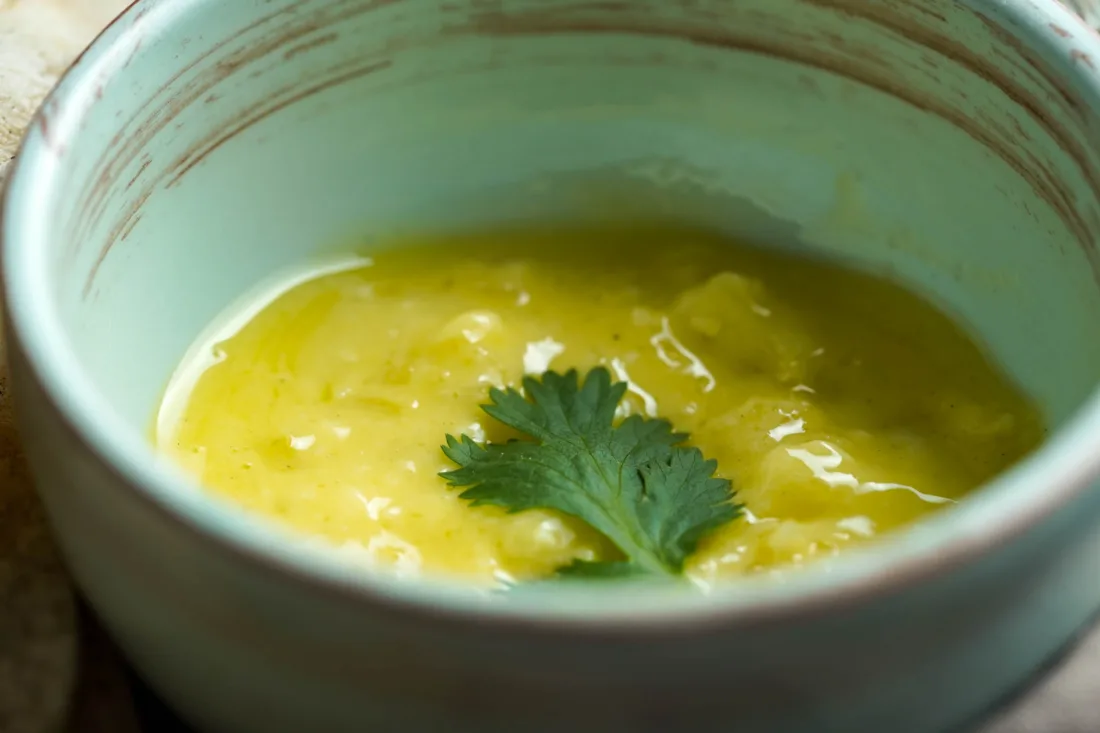
Press 1 garlic clove and mix with 1 tbsp olive oil and 1 tbsp warm margarine. Done.
Cast iron pan or Teflon pan?
The best pan for naan is, of course, the pan you already have in your cupboard. But if you make naan bread more often and don't own a cast iron pan yet, there are some good reasons to get one:
- Taste: Thanks to its large mass, a cast iron pan can absorb a lot of heat and store it evenly across the whole base. So as soon as you put the naan in the pan, the stored heat can go straight into the bread and doesn't need to be topped up by the stove first. That way the naan cooks faster and gets that typical rustic crust.
- Health: Thanks to its PTFE coating (short for polytetrafluoroethylene), a Teflon pan has the big advantage of being non-stick. As long as the temperature isn't too high and you don't scrape around in the pan with sharp forks or spatulas, the coating stays intact. According to current knowledge, no particles harmful to people or the environment come off during "normal" use (production and recycling aside). However, the Teflon coating can start to break down at temperatures from 500 °F / 260 °C (link) to 680 °F / 360 °C (link, both in German). The pan usually doesn't reach these temperatures as long as the base is fully covered - for example with vegetables, oil or dough. With naan bread, though, the characteristic bubbles form instantly and lift the still unfinished naan. That can create hot spots on the pan, which can damage the coating and release toxic gases. So make absolutely sure not to set the pan too hot. And: with a cast iron pan there are no such problems, since its seasoning is "natural" in origin.
- #plasticfree: A recent study shows that scratches in a Teflon pan can release large numbers of microplastic particles. More on that here and here (in German). A cast iron pan avoids the problem, since its coating (also called seasoning) consists of - or is created from - "natural substances".
- Fun fact: Because of the high iron content of a cast iron pan and the transfer of iron from the pan into the food during frying, it's possible to enrich your food with iron by using this pan. At least that's what some manufacturers claim;)
- Downsides: Compared to a Teflon pan, a cast iron pan needs a little more care (keyword seasoning) and has to be dried after cleaning (with water only!), otherwise it can rust.
About the ingredients:
- Flour: Traditionally, flours like atta or maida are used, which you can find at Asian grocery stores. But classic wheat flours like German type 405 or 550 (all-purpose or bread flour) work really well too.
- Soy yogurt: If you want to avoid soy (soy-free), you can easily use other plant-based yogurts instead - oat yogurt, for example.
#plasticfree
- For the raising agent in this recipe I chose fresh yeast, since you can buy it plastic-free. Dry yeast, on the other hand, usually comes in elaborate multi-layer packaging, which in turn is shrink-wrapped in plastic.
- Spices are unfortunately very often sold in plastic bags or glass jars with plastic caps. But I've often found spices in glass jars with metal lids at small vegetable markets (especially in big cities) or in well-stocked supermarkets. It's worth keeping an eye out🔍.
Nutrition
estimated per 100 g
- 223kcal
- 7.2 gProtein
- 39.3 gCarbs
- 3.4 gFat
Calculated from all ingredients, including the sides. Values vary depending on the product, the size of the vegetables and how you prepare them.
Cost Test phase
estimated per 100 g
about €0.15
What goes into the price
- soy yogurt€0.09
- flour€0.04
- olive oil€0.02
- cube of fresh yeast€0.01
- sugar< €0.01
Total €0.15 per 100 g, rounded to about €0.15. Not counted: water, salt, cumin, whole.
This section is still in a test phase: a rough estimate based on conventional German discount-supermarket prices (as of September 2026). Only the amounts used are counted, excluding salt, pepper and spices.
How did you like it?
No ratings yet – be the first!
One click is all it takes – no comment needed.
Comments
Your feedback is what keeps me going – every comment means the world to me!
Did you change something or try other ingredients? Tell me and everyone who cooks this recipe next!